In our previous blog post about MakerSchools, we introduced the project – we are creating modules
for teachers to teach making in their classrooms. Here is an update on our progress.
The module we are working on for the Hive Toronto project is about teaching kids the social studies
unit of settlers in the early 18th Century using the game Minecraft. We wanted to find a
way to include Minecraft into an already existing unit to give teachers more options for engaging
the kids in different topics. This unit occurs in grade 3, which is a popular age for kids to take
interest in Minecraft.
We did some preliminary research on the topic before setting everything up, and discussed
questions about the the unit, students, and teachers. We needed to figure out everything from the
areas of the unit covered in class, to how many classes are devoted to it, and especially questions
around Minecraft itself. How many teachers know of Minecraft, what kind of knowledge do they
need to set up something like this, what previous knowledge do the kids have of the game, how
quick can they pick up the controls, etc. These were all things we had to consider when creating
the activities.
We brainstormed different situations to simulate in Minecraft including building a town and farm,
and trading with the natives. We researched what kinds of materials and food we could mimic in
the game such as farming potatoes and pigs, making log cabins and trading with villagers. This
created a framework to base our activity in.
The tools we used to build our Minecraft map were MCEdit (www.mcedit.net) and World Painter
(www.worldpainter.net). The initial map featured a large ship the students would start on like they
were the settlers coming to Canada for the first time. It also had a dock, boat house, and individual
canoes so the kids could float them up river to another area with a tower and small survival house.
At the survival house, there was a kit of basic items to get them started building their farms and
towns. We shaped the area to mimic Toronto’s waterfront area, including the areas where clay,
swamps, and dense forests were found. A group of Native villagers were also placed near the fort
for kids to trade with.
Along with the map, we also needed some specific instructions to get the kids started, as well as a
guide for the teacher. We developed a plan with instructions, ideas, feedback questions, and a
backup plan. A setup guide was also created for us to follow when doing the first test. We’ll be
discussing the results of our test and showing what kinds of feedback we received in our next post,
so check back for more progress reports!
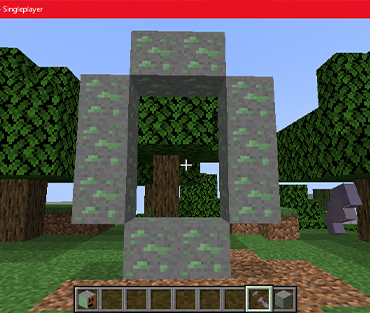
Here’s a few pictures of creating the map:
Also Read
How Coding Classes Can Lead to a Career in Coding
Often, children are asked the question, what do you
Digital Creativity Unleashed: Coding as a Creative Outlet for Kids
When children learn to code, they’re not only learning
Unlocking Creativity: How Minecraft Can Foster Imagination and Innovation in the Classroom
Many people think of Minecraft as just a game


